How I built an Ethereum wallet on Bitcoin with 3 lines of code

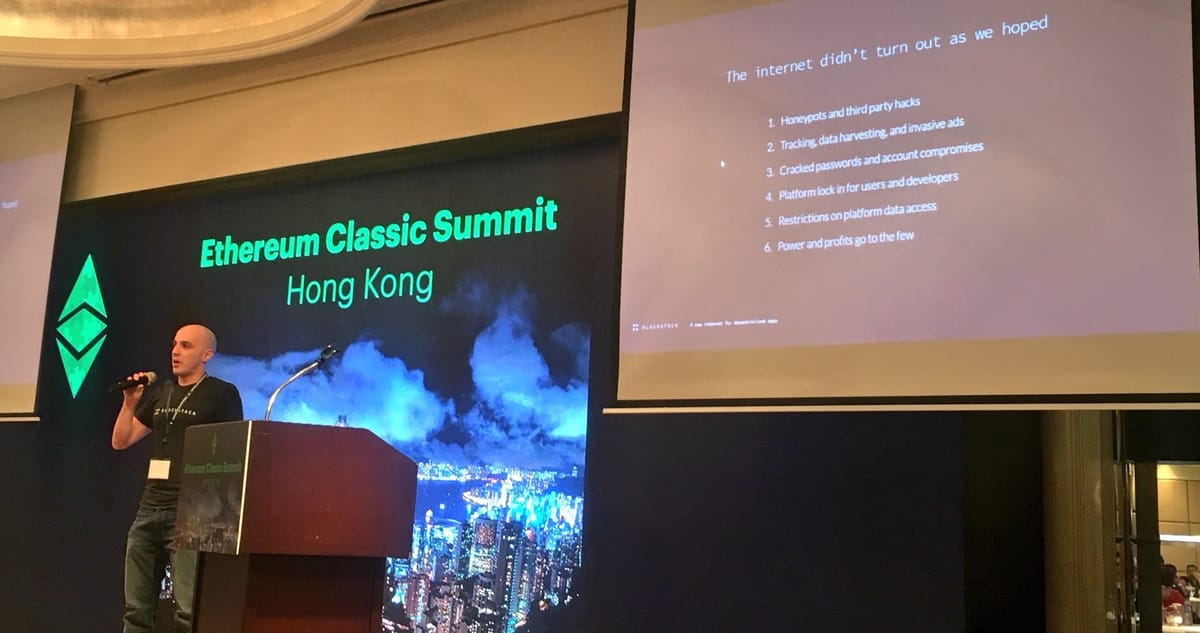
This post is a companion to a talk I did at the Ethereum Classic Summit in Hong Kong on November 13, 2017.
Cryptocurrency and token wallets are pretty simple. You generate a private key that only the owner of the wallet knows and a public key that's shared in some form with people who want to send the owner money.
If you just want to make a wallet than can receive money, that's all you need. If you want to display the wallet balance and send transactions, you'll make some calls to remote APIs and use the private key to sign some transactions. However, distilled to its essence, a crypto wallet is just a private key.
Much of the challenge of writing cryptocurrency wallet apps for developers is figuring out how to get users to actually store their key so they don't lose it and lose their money.
Similarly, the most annoying part of using crypto wallets for users is being nagged by wallets to write down your private key. It's also the most dangerous - ignore the nagging and you potentially lose your coins! Write it down in the wrong place and you also lose your coins!
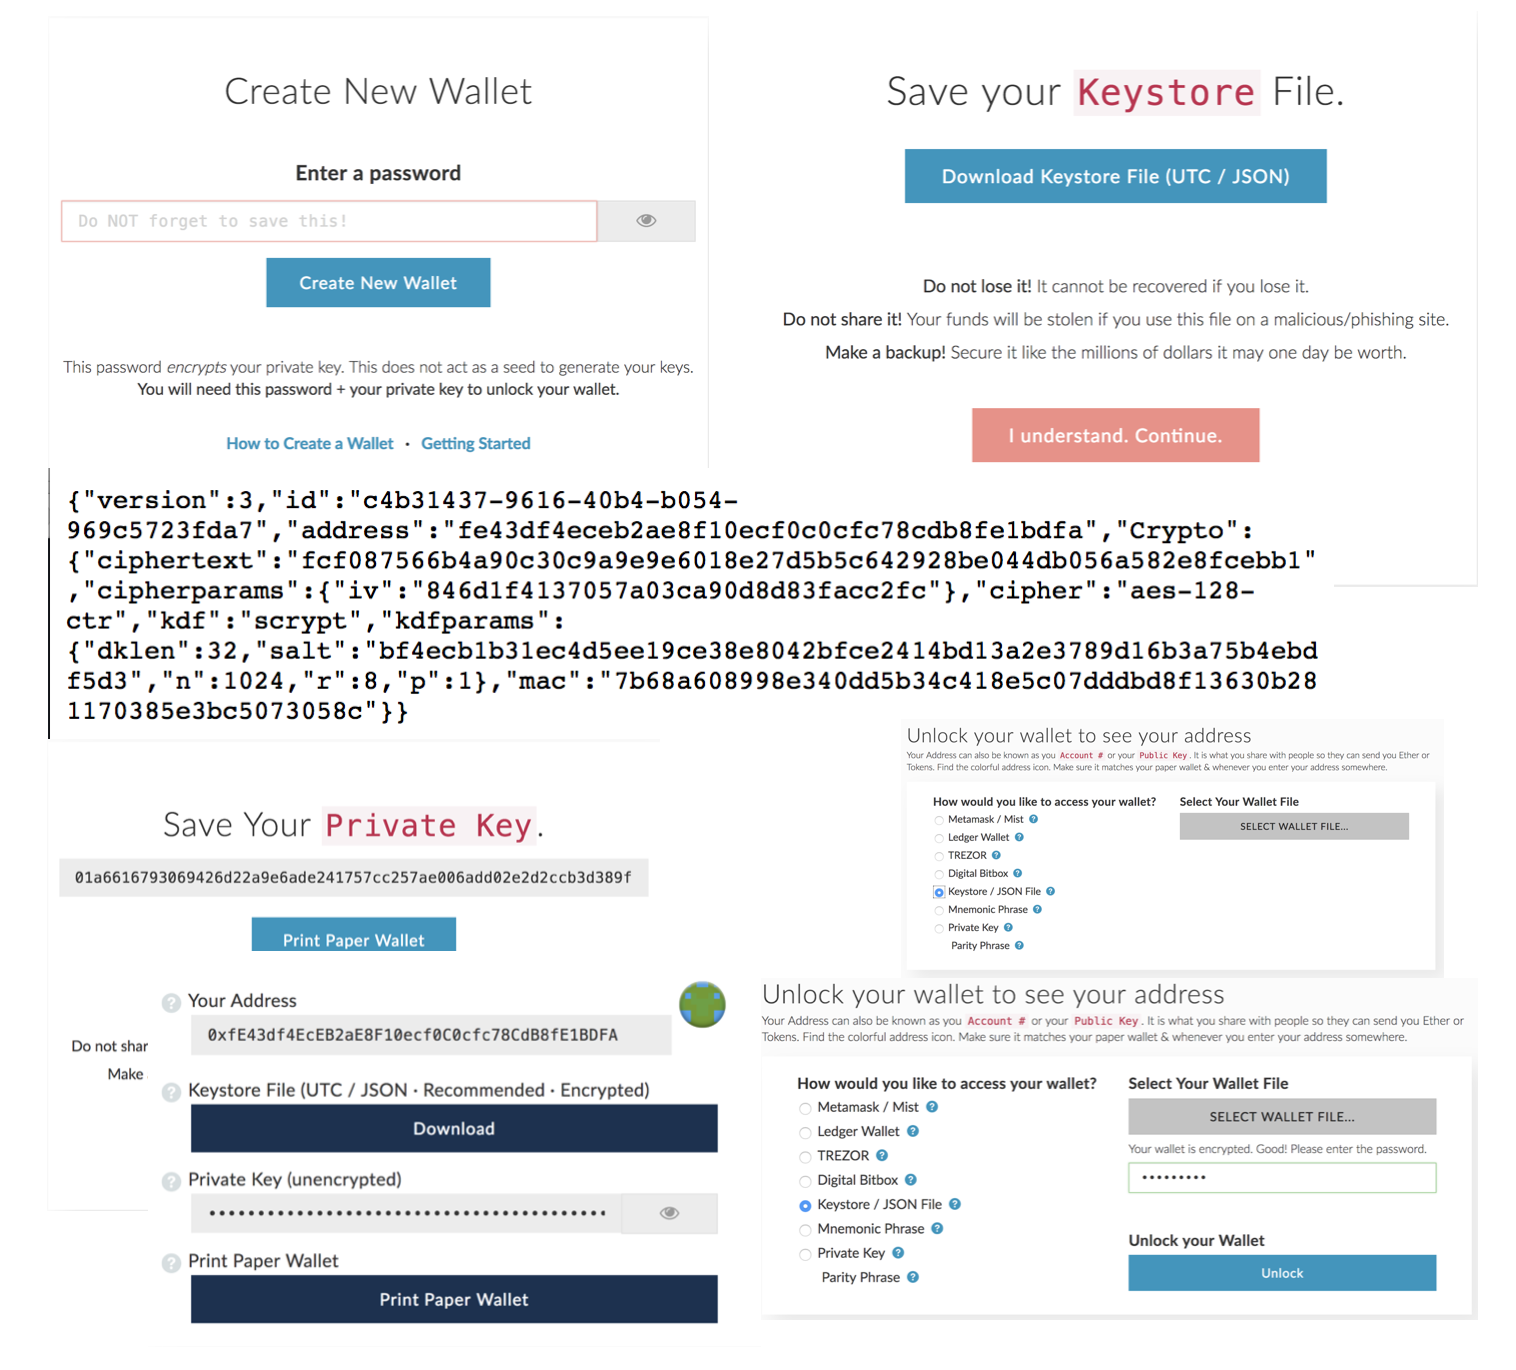
MyEtherWallet's on-boarding process
Just look at the process of getting started with MyEtherWallet:

No fewer than six on-boarding screens, with a password, a private key, and a file to keep track of to boot! Madness!
What if I told you, there's a better way for both users and developers?
Blockstack's per-application private key
Blockstack is a new internet for decentralized apps that is a layer 2 protocol on top of Bitcoin. One of the really cool things about Blockstack as both a user and developer of applications is that users are on-boarded with a hierarchical keychain. Each of the user's Blockstack IDs is uniquely identified by a bitcoin address, known as the identity address, derived from this keychain. Each application that a user signs into receives a unique key, the application private key, derived from the private key of the identity address. All of these keys are backed up by a single keychain phrase.
We can use application private keys for rapid development of all sorts of apps that use cryptography. Let's take a look at how we can use the app private key to make a receive-only Ethereum wallet in only 3 lines of code:
First, we load the user's data which is sent over by the Blockstack Browser as part of the sign in process and retrieve the app private key. (Read my walkthrough of the sign in process here) Next, we wrap the private key in a buffer. Finally, we use ethereumjs-util to generate our wallet's Ethereum address.
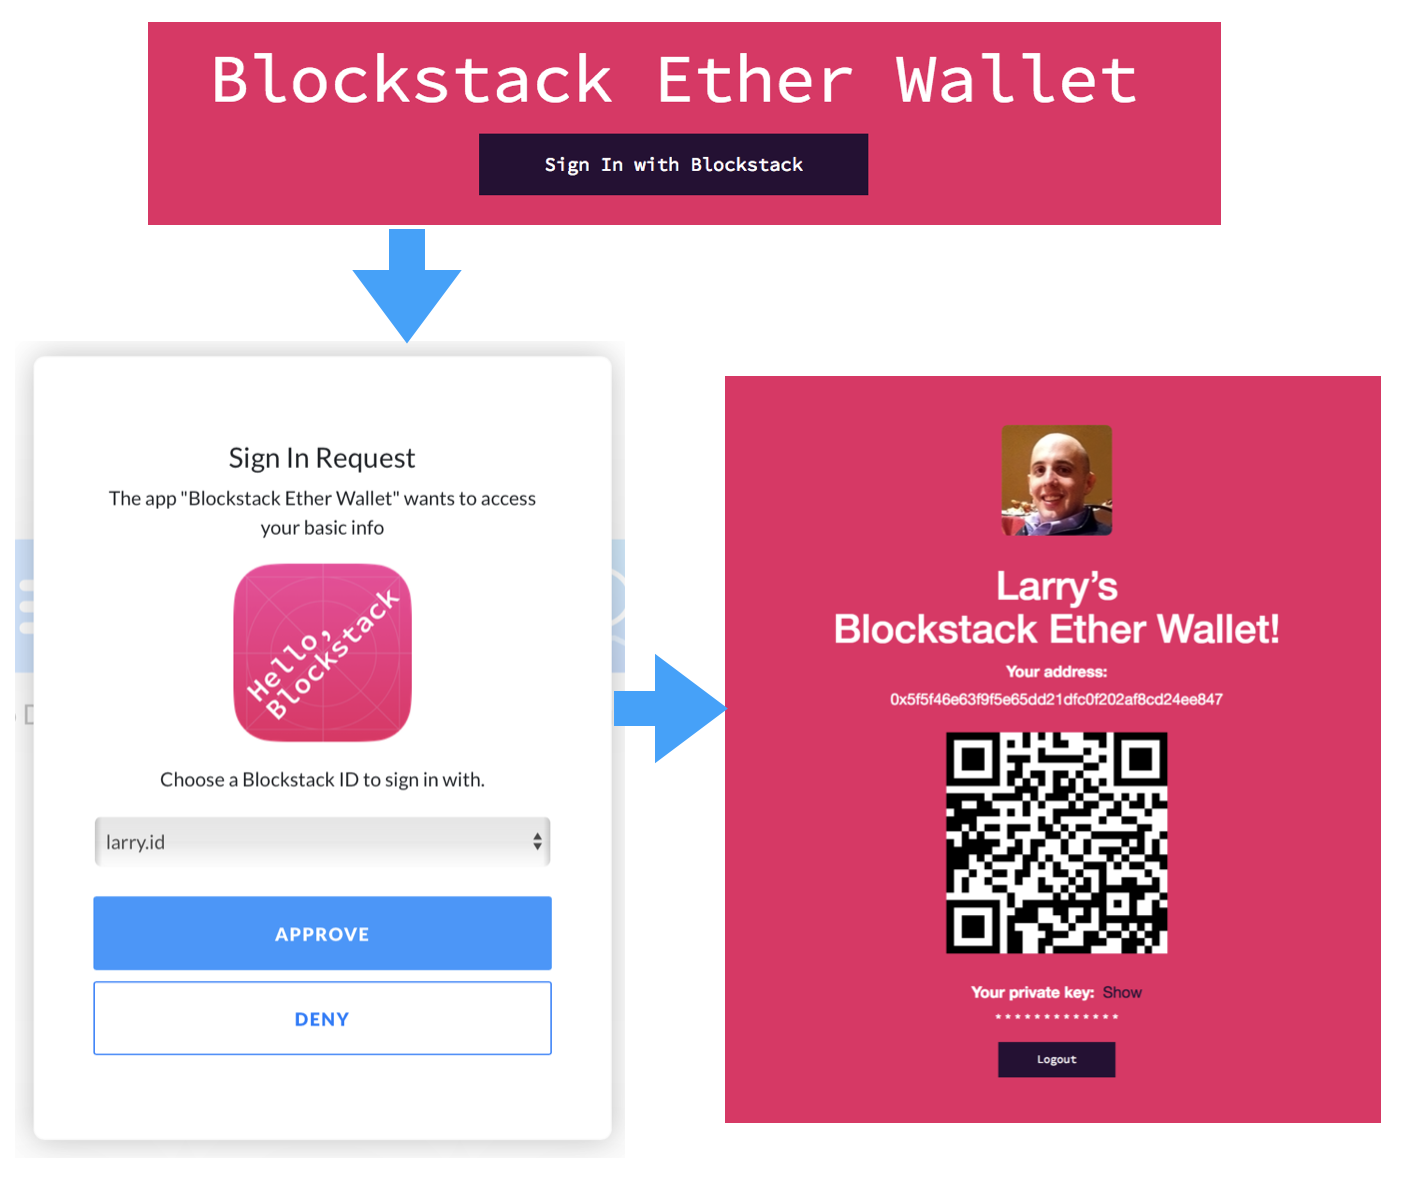
With Blockstack, you outsource the key generation and on-boarding process, so you can focus on your wallet's unique value proposition. Developers win by having to write less code and design fewer interfaces. Users win with a one-click on-boarding process and no more additional private keys to remember.
With a bit more code, we can display our new wallet's address as an easy to use QRcode and even personalize it a bit with profile information that the user has shared as part the Blockstack authentication process adding their name and photo.

Creating multiple wallets
With this code, the user gets the same Ethereum address generated each time she signs in. This makes it easy to restore her wallet if she ever loses her computer by entering her 12-word keychain phrase the Blockstack Browser. But what if we want more than one wallet?
Blockstack gives us a couple options. One option is to use the app private key as the root of a hierarchical deterministic wallet and derive more addresses from it. Another option is to generate cryptographically random wallets and use [BlockstackJS]'s storage routines to client-side encrypt the secrets of each wallet and store them in the user's storage provider.
So that's it! We've created a two-click Ethereum wallet on Blockstack in only a few simple lines of code.
Next steps:
- Fork the code on Github
- View the slides from the talk this post was based on
- Watch video of the talk
- Read "Proof of Humanity: a Deep Dive into the Blockstack Token Sale Registration App", my semi-technical walkthrough of Blockstack ID creation and sign with Blockstack
- Do your duty and angrily tweet at me because I used 5 lines of code and not 3 like the headline said..
Thanks to Aaron Blankstein, Jude Nelson, Patrick Stanley and everyone else that provided feedback on drafts of this post.
