#StartupThisSunday: Part 2 - Singapore Bound

This is Part 2 of my 5 part series sharing my 24 hour #StartupThisSunday cross Asia adventure building the human powered website monitoring service wpFlight.
In Part 1, we talked about why I decided to create a monitoring product on top of Pay4Bugs and why I decided to strictly timebox the creation of the MVP. We also got off to a great start on the MVP while waiting in the airport: our domain and email services were set up, we'd planned out the MVP system architecture, selected our tools, implemented most of the server and selected a website template that I'd use to create the site. We rejoin the story in seat 21J of Singapore-bound flight UA895 as it begins its climb over the South China Sea.
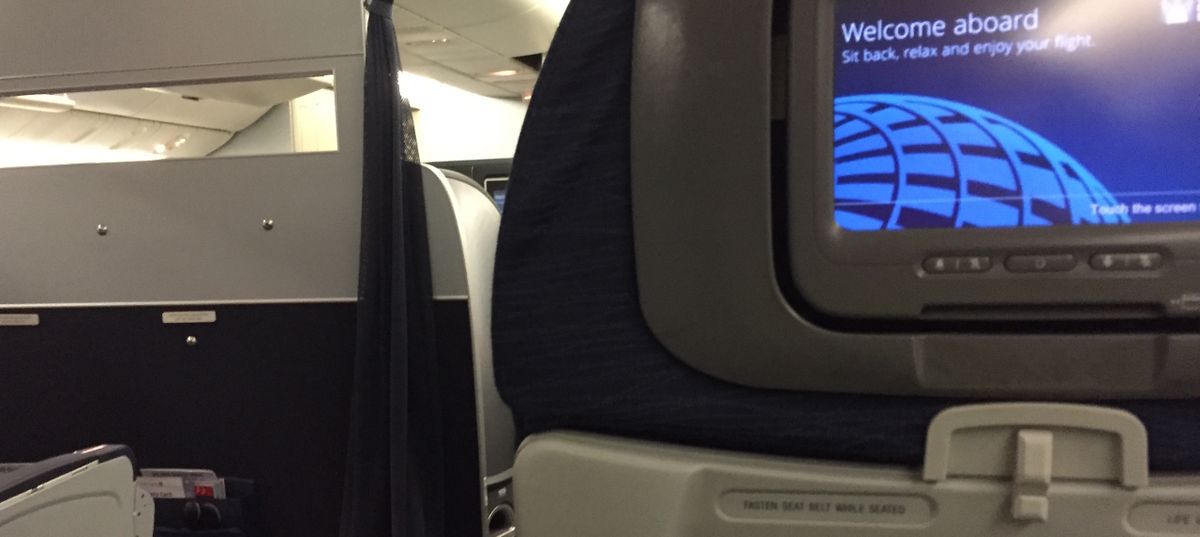
Mobile office #3 is seat 21J @united economy+ - havent sat in middle seat in >10y - full flight #StartupThisSunday pic.twitter.com/ICJcgkIu9y
— Larry Salibra (@larrysalibra) June 14, 2015
June 14, 2015 - 8:40am: Climbing to 40,000 feet over the South China Sea
Once of my goals when building wpFlight while traveling was to try to minimize downtime spent doing travel-related things. I had only spent 15 minutes walking from home and waiting for the airport bus. I was able to get through check in, security, immigration in Hong Kong and walk to an airport lounge at my gate in an additional 20 minutes. By showing up towards the end of boarding, I was able to avoid the inevitable downtime waiting around for boarding to begin and avoid wasted time sitting in the cabin waiting for others to board.
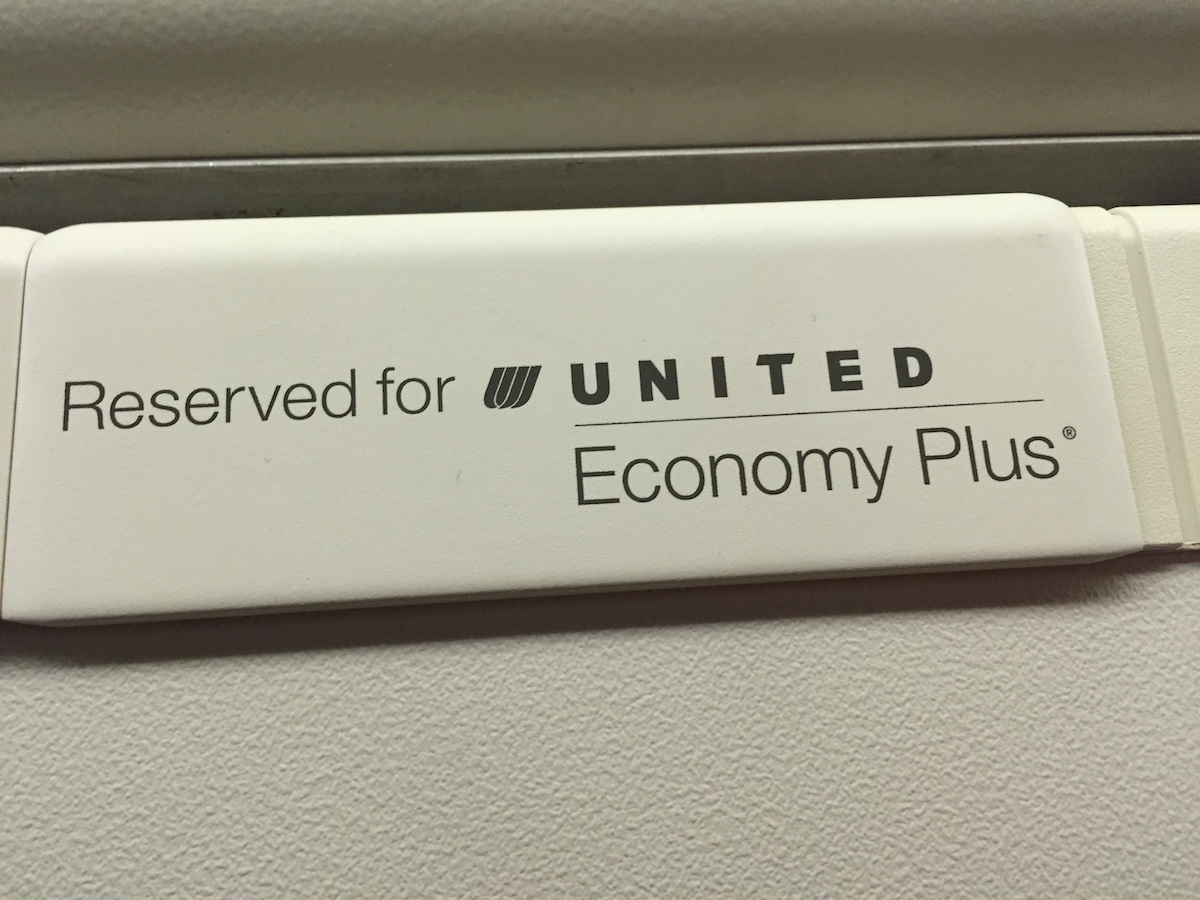
Due to my last minute ticket purchase on what turned out to be a full flight, I ended up with a middle seat in Economy Plus. It turned out to be only a minor inconvenience as the row ahead was only two across which made it easy to get in and out. The extra space in Economy Plus is very useful when you have lots of work to get done. It allows you to use your laptop on your lap while the tray table is open and in use. This means you can productively put to use the half hour between when you finish eating your meal and the cabin staff comes around to collect trash. On our adventure, this meant more than an extra hour of work time.
I had already downloaded local copies of the template I had selected and javascript libraries I would need before boarding so I could get straight to work planning the site. My goal was to create a simple site that could explain the benefits of wpFlight, what it does, how it works and the plan options.
The first priority was to determine the constraints of what I was selling. wpFlight would initially offer a human-powered monitoring service that periodically makes sure a Wordpress-powered website is working properly. I spent a bit of time brainstorming ways to differentiate plan options so we could offer something for businesses at different points along the value curve.
Questions I considered:
- What are the important parts of Wordpress powered websites businesses would want to monitor?
- How often should they be checked?
- Should we stop checking when a problem is found or continue checking for additional problems?
Important parts of website
Wordpress sites, if they’re not used as blogs, are often used as marketing sites or for ecommerce. A shopping cart site's purpose is to convert a visitor into a customer. A business's sales and marketing site aims to at the very least turn a visitor into a lead if not a paying customer.. With that in mind I came up with a list of things a customer might want to check.
- Shopping cart/check out process
- Sign up or registration process
- Newsletter form (Mailchimp, etc)
- Contact form
- Feedback form

How often should a customer’s site be checked?
In ideal world we can check a customer’s site continuously and notify as soon as a problem arises. Automated services and tools that check to make sure a server is still running and not completely broken simulate continuous monitoring by checking very frequently: several times an hour or even a few times a minute. However, these services won’t tell you if something on your website stops working, only if the server completely died because of a hardware or network failure.
Manually checking a website to make sure it is still working is also a time consuming procedure compared to simply pinging the server. At minimum, it takes a couple minutes for one person to test a relatively simple page and we would want each page to be tested by multiple people to increase accuracy. Also, since my goal was to make a MVP that initially wouldn’t automated, each test cycle would take even longer.
I also gave some thought to how problems arise in these types of sites. Often the developer or digital agency hands off a completed site to the business with everything working at launch time. Problems occur as changes are made: pages rearranged, plugins added or removed, software updated. Some businesses don’t change their websites that frequently. For them, checking things once a month to make sure everything is still working is probably good enough. Others make changes day in and day out. For those companies, we could make sure their site is working once a week.
Should we continue testing after a problem is found?
Do customers want to simply know that their site has a problem so that they can have their development team review the site, or do they want to know that there’s a problem and receive a list of all of the problems that we’ve found?
It’s obviously much more valuable to receive a list of all problems that you can hand off to your team so that expensive developer time isn’t spent time looking for more problems. On the other hand, stopping testing after the first problem is found reduces our cost and allows us to offer a much lower entry point for customers that prefer to just be notified when a problem exists.
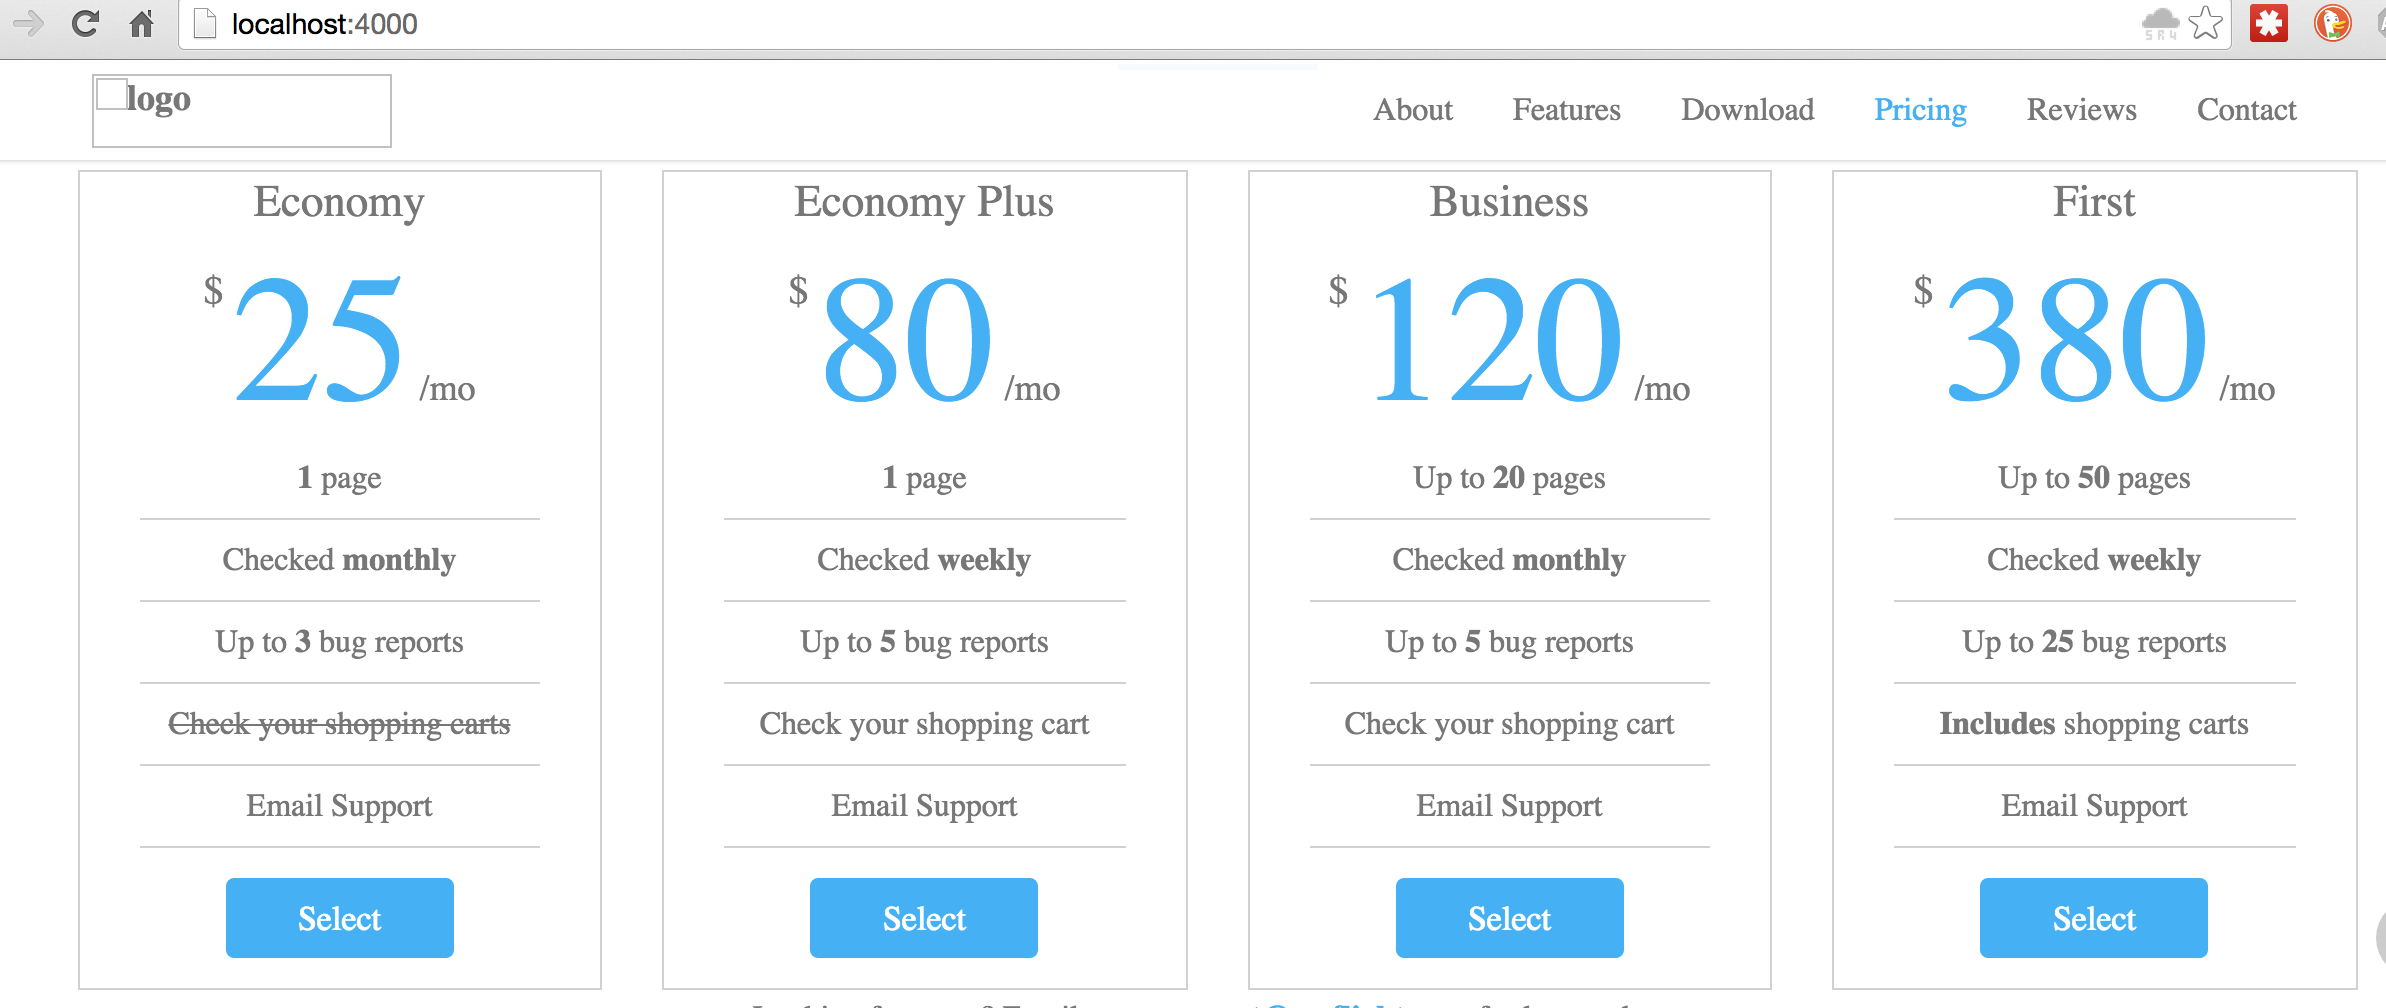
Four plans inspired by my flight
Based on this analysis I came up with four plans with names quite obviously inspired by my surroundings.
The next step was to work on page layout and copy. I wanted to make it braindead easy to sign up.
9:30pm: Site content
My next priority was to determine what information and components I wanted on the websites. The goal of the site was to provide information about what the wpFlight service does and the benefits it provides customers and provide an easy, low friction way for them to sign up.
Minimizing signup friction
When thinking about taking a potential customer and turning her into a paying customer, we need to think about our sales funnel. To do this, we think about what happens when a customer arrives at our site and where we want her to go. We want leads that enter our sales funnels when they hear about our product to end up at the bottom of the funnel converted into paying (and happy!) customers.
Since wpFlight is intended to bring the benefits of crowdsourced testing to people without having to understand anything about testing or even software development, I wanted to pair this simplicity with an equally low friction sign up and on-boarding process.
To convert, leads would need to complete the following steps:
- Enter their business website
- Select a plan
- Enter payment information
I imagined that potential customers visiting the site would fall into two general categories:
- those already sold on the wpFlight value proposition before they arrived at the site or
- those not yet sold.
To make it super easy to for the first group, I wanted to try the idea of putting a simple input box call to action at the top of the site before the fold. This would allow people to enter their business web site’s address and immediately get started.
For the visitor not yet sold, I would explain the features and benefits in marketing copy before presenting plan options further down on the page with corresponding calls to action.
Integrating the template
Once I decided what interactive functionality corresponding to the calls to action would be on the site, I spent some time adding the template I selected pre-flight to the Jekyll framework I had copied over from my blog. This consisted of integrating the template’s assets into the borrowed-from-Rails asset pipeline that the framework uses. The benefit of spending ~10-15 minutes on this is that it would give me a few benefits in this race against the time. It would allow me to use faster to write scss syntax to modify template styles. It would also enable cache busting for static assets so that I could quickly push successive updates when it was time to deploy without having to spend time clearing the browser cache and Cloudflare’s edge caches.[1] Integrating the template into the asset pipe also had the side benefit of combining a dozen or so css and javascript files into two files for much faster loading time.
9:45pm: Thinking about single page site content
Once the template was integrated into our Jekyll framework and up and running on our localhost 40,000 feet somewhere over the South China Sea, I was ready to start adding content and components to the website. I had selected a single page style template made up of multiple rectangular panels. Each panel would serve the role of a different page on a more traditional site. I first came up with a list of what content each panel would contain:
- Interactive: Welcome banner with input box for customer website
- Static: Overview of the service
- Static: Benefits
- Static: How wpFlight delivers benefits
- Static: Description of deliverables (What the customer gets)
- Interactive: Plans + signup call to action
- Static: Contact info
Static panels would be text and graphics. Interactive panels would require programming.
10:00pm: Designing interfaces
Next, I got started creating the interfaces for the interactive panels. The welcome panel would need a box in to which customers could input their website and a button with a call to action.
For the input box, I decided to use the HTML5 URL element which is like a text box but only allows input of URLs. It is written <input type="url"> instead of <input type="text"> and allows us to use browser’s built in validation which (ie. HTML5 form validation) which is supported by the vast majority of browsers currently in use. Good enough for our MVP. By adding the required attribute, we can also tell the browser that users need to enter a URL before clicking on the button will work.
For the plans panel, the interactive part would be the sign up buttons below each plan. So, to get started, I simply filled in the plan info that I had come up with earlier.
After the interactive interface elements were complete, the next step was to add AngularJS libraries to the project and start planning out interface logic. Since I had forgotten to download those pre-flight, I instead copied versions from another project.
I created the AngularJS boilerplate: one ng-app and ng-controller for page. We’d only need one controller for this wpFlight MVP. Next, I added ng-click handlers to each of the interactive buttons on the page. These would be triggered to run specific code when a button was clicked. Then I hooked up the url input box to AngularJS using the ng-model attribute. This would make it so whatever was typed in the box would stored in the variable specified by ng-model.
Then, I went on to think through what should happen when each button was clicked and documented that in comment pseudocode within the controller. Since customers could start the signup process at one of two places, that resulted in two logical flows:
Welcome button flow
- Customer enters url in input box
- Customer clicks button
- Customer is presented with page to select plan
- Customer selects plan
- Customer enters email
- Customer enters payment information
- Order is processed
Plan signup button flow
- Customer selects plan
- Customer is prompted to enter website url
- Customer enters email
- Customer enters payment information
- Order is processed
These flows were a bit more complicated than I’d hope given that I only had a bit over an hour before we’d land in Singapore when I hoped to be able to deploy our API to the live server and hook up this barely started frontend to the backend. How could we simplify?
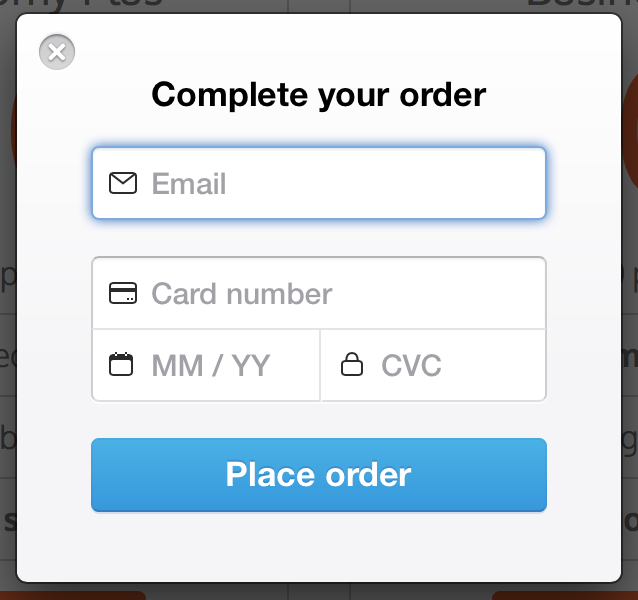
One immediately obvious place for simplification was to combine the steps collecting email and payment information. Stripe’s Checkout tool also gave us the ability to collect a user’s email so there was no need to do it ourselves.
I could also avoid creating another “please select a plan” signup page by directing users who started at the welcome panel to the plan panel by hiding other elements of the page. I also decided to avoid creating another “please enter your url” page by using a quick and dirty Javascript input box. Ugly, but fast.
Welcome button flow
- Customer enters url in input box
- Customer clicks button
- Customer is shown plan panel (hide rest of page)
- Customer selects plan
- Customer enters payment information & email via Stripe Checkout
- Order is processed
Plan signup button flow
- Customer selects plan
- Customer is prompted to enter website url
- Customer enters payment information & email via Stripe Checkout
- Order is processed
10:30pm AngularJS coding begins
Now that I had a simplified flow that didn’t require me to create any additional pages, I could start filling in code. I was able to write everything but the code that uses Stripe Checkout since I was offline. This, however, wasn’t a problem. Stripe Checkout requires information about the plan selected, cost and other setting information and returns a token representing the customer’s payment information and the customer’s email address. I could skip this with a comment and hardcoding in values for the email address and token. This enabled me to even able to craft the order creation ajax call using anjularjs’s $http. (the call would fail of course because I didn’t have time to set up the tools to simulate, aka “mock”, Stripe’s API offline.
11:00pm: #FirstWorldProblems - Coding without Internet
Programming without Internet access is an interesting exercise that I encourage every developer to try periodically. The only major problem I encountered was remembering the exact names or signatures of certain API calls while high over the South China Sea and disconnected from normal universe of programmer aids. It’s amazing how dependent we programmers are on search engines, online api documentation and tools like Stackoverflow. One solution I used was to use other projects I had worked on as reference when I couldn't remember the exact syntax of a particular function
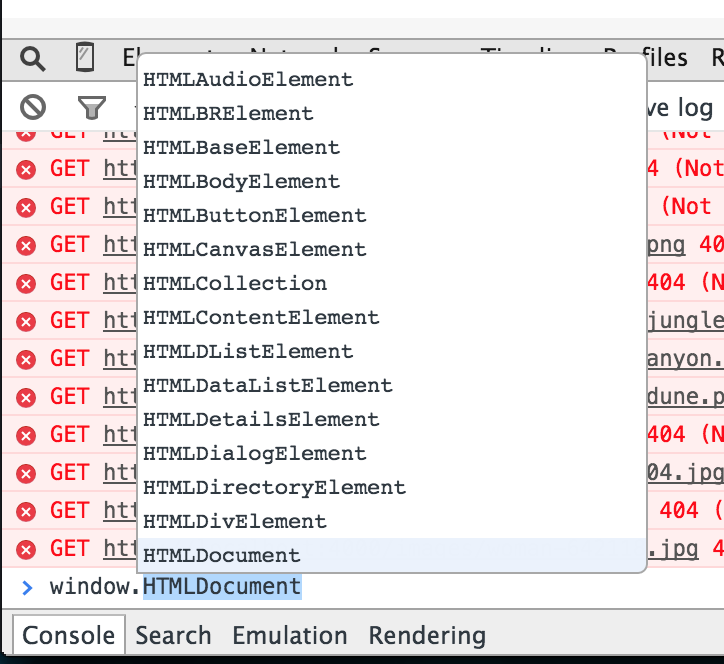
Another offline programming trick is hidden inside of Chrome. In one instance, I couldn’t remember the javascript function to open an input box. I knew that alert() lets you display a message and confirm() lets you display a confirmation dialog, but for the life of me could remember how to open an input dialog in Javascript. Then I realized that Chrome’s Javascript console has a great autocomplete feature that lets you essentially view all of available methods. It was called prompt().
11:35pm: Expanding marketing copy notes
I had about 20 minutes before I had to turn off my computer for landing when I could finally start outlining some marketing copy. I didn't have enough time to really get into proper writing mode. Instead, I went through each of static panels made some notes in Evernote about what I envisioned in each panel. In some cases those notes were a list of bullet points, for others I wrote a sentence or two I hoped would appear in the copy.
11:55pm: Descent
Once I turned my computer off for landing, I tried to grab a bit of shut eye.
I knew that I had a good 16 hours of work left ahead of me, and despite being only 8 hours into this adventure, I had already been awake over 16 hours. I needed any rest I could get. Unfortunately, my pumping adrenaline and brain in overdrive made it impossible to sleep.
If you made it this far, thanks so much for joining me on Part 2 of my 5 part series sharing my 24 hour #StartupThisSunday cross Asia adventure building the website monitoring service wpFlight. Something you'd do differently? Let me know in the comments or hit me up on Twitter!
Continue reading Part 3 - Singapore
The last thing you want is for on old version of a script or stylesheet to be stuck in a visitor's browser cache with no way to clear it but waiting hours or days until it expires. It's a great way to have difficult to track down problems that your customers experience but that you can't replicate. ↩︎